Hi everyone,
Today, I will introduce the usage of one of the leading edge Conversation AI engine: IBM Watson Assistant. The objective is to create and setup the baseline to build our future Kodi AI assistant. Let’s start for a five steps and 20 minutes tutorial.
Step #1 – IBM Cloud account creation
Watson Assistant service is available on IBM Cloud. So, let’s start by creating a a free user account on the IBM Cloud platform. it will normally take less than 30 seconds, and you will receive a mail to confirm your IBM Cloud account creation.
Step #2 – Create a Watson Assistant Cloud Service
Now, let’s create an new Watson Assistant service instance. After logged on the platform, click on the top-left menu icon and select Watson in the list. Then, select Build a chatbot and click on create.
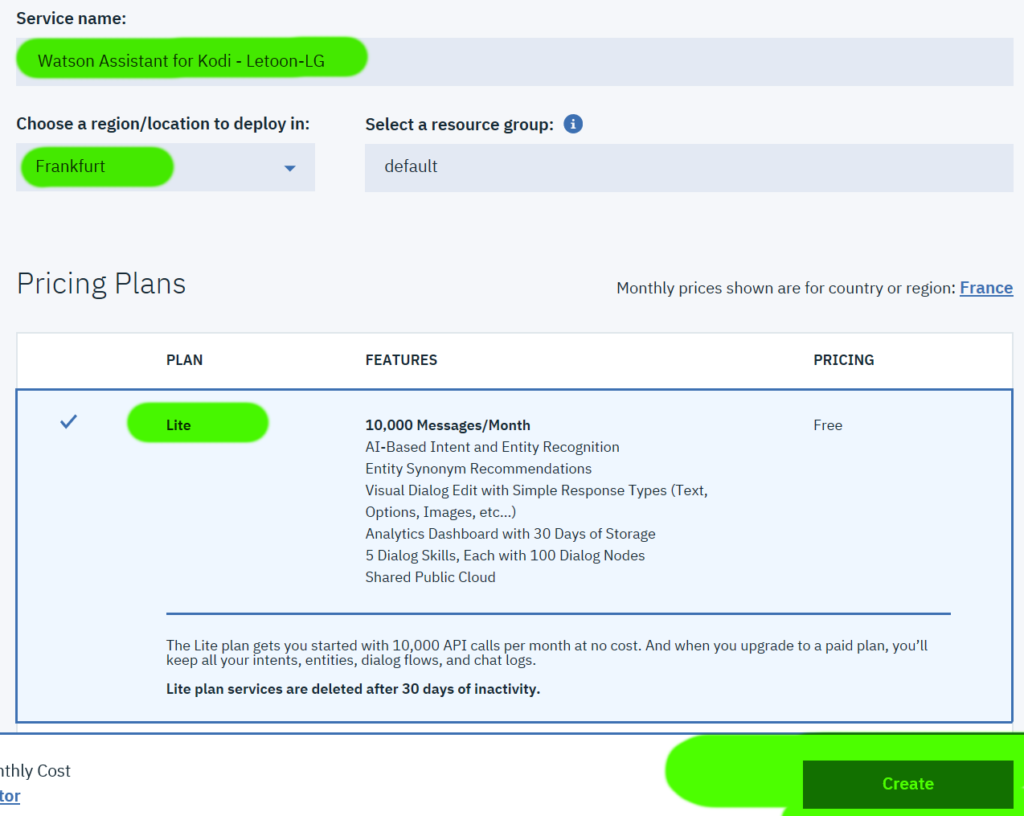
Now, enter a unique name for your future Watson Assistant service, choose a region to host this service, choose the Light Plan (fully adapted to our Kodi add-on build), and click on Create.
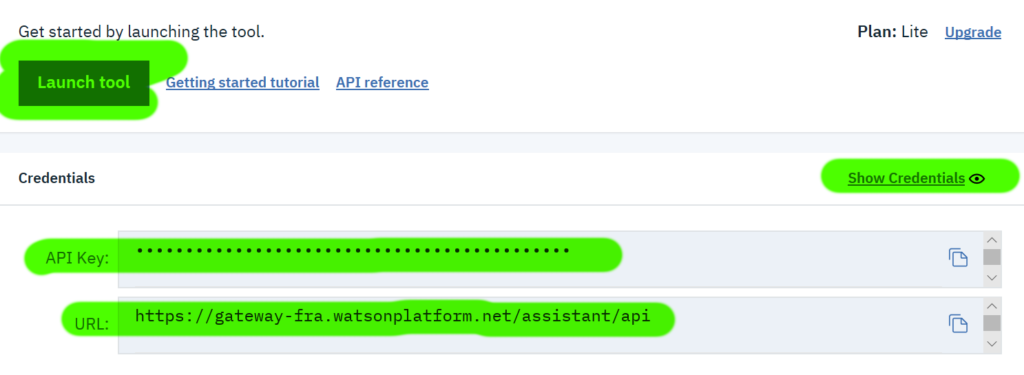
After several seconds, the service is created and up-and-running. At this stage, have a look at the credentials by clicking on Show Credentials and store the API Key and the URL. They will be required for to execute API calls from our future Python scripts. And finally, click on Launch tool.
If you are not familiar with chatbots principles and Watson Assistant, may be you could spend 15 minutes to look at 4 quick videos introductions. These videos will give an overview on how to Build Chatbots with Watson Assistant, Create the 1st Intents, the 1st Entities, and Build a Simple Dialog.
Step #3 – Initialize the AI corpus for Kodi assistant
The next step will be to create to AI corpus for our Kodi assistant. With Watson Assistant, the corpus container is called a Dialog Skill containing our intents, our entities and our dialog tree. We will now create and setup it.
So, when you are ready, click on the menu Skills from the Home page of Watson Assistant (displayed after clicked on Launch Tool), then on Create new.
Define a unique name for the 1st Kodi skill, an optional description, and click on Create.
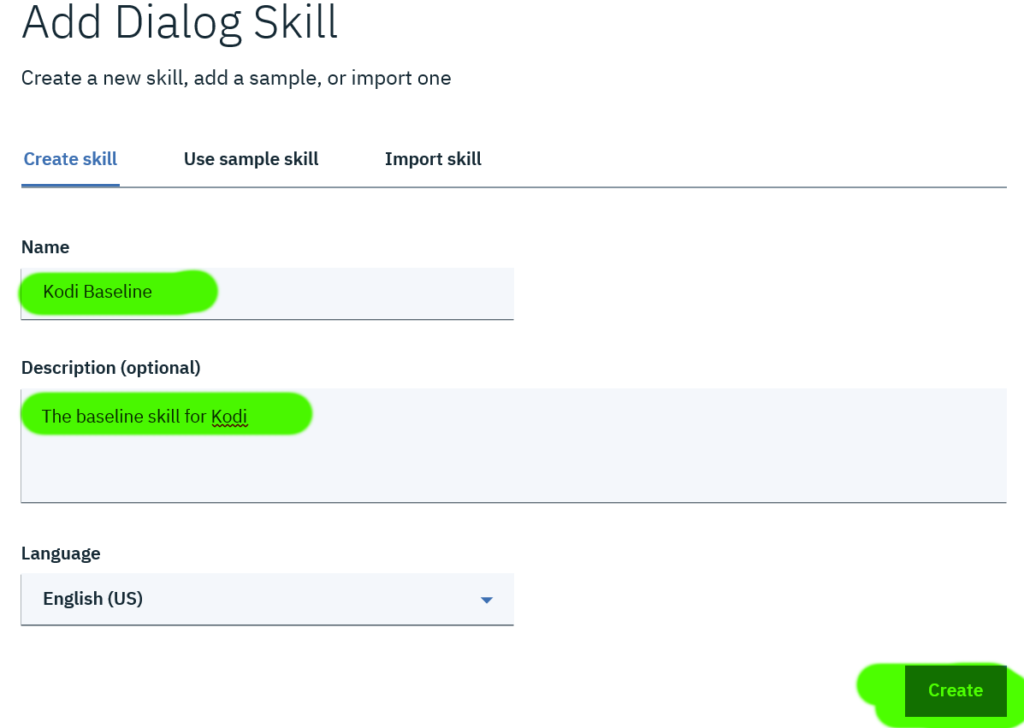
Step #4 – The 1st intents, entities and dialog tree for Kodi
Create the intents
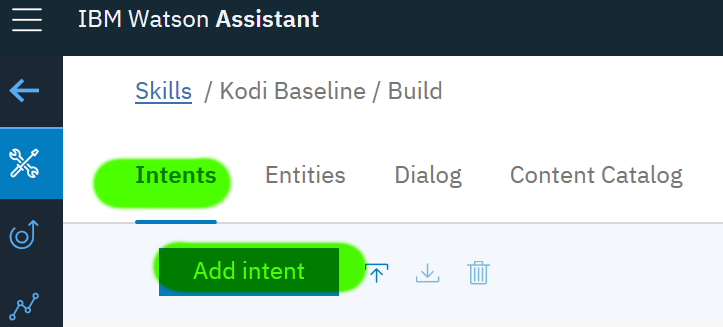
At this stage, our corpus is empty. Before playing with a very simple chatbot, we need to create a dialog tree, with intents and entities. So, let’s come back to the Intents tab, and click on Add intent.
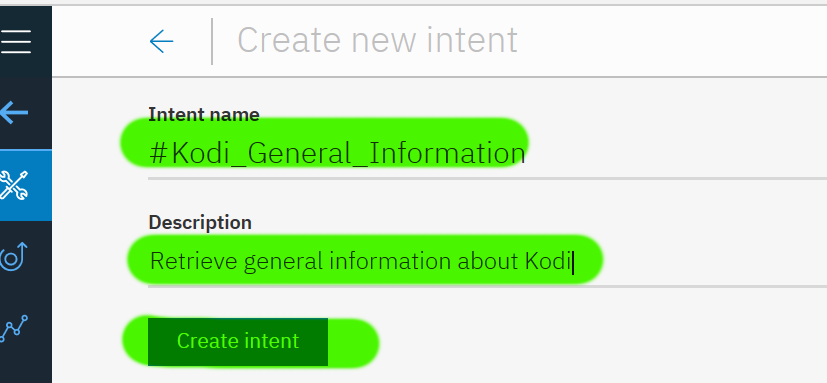
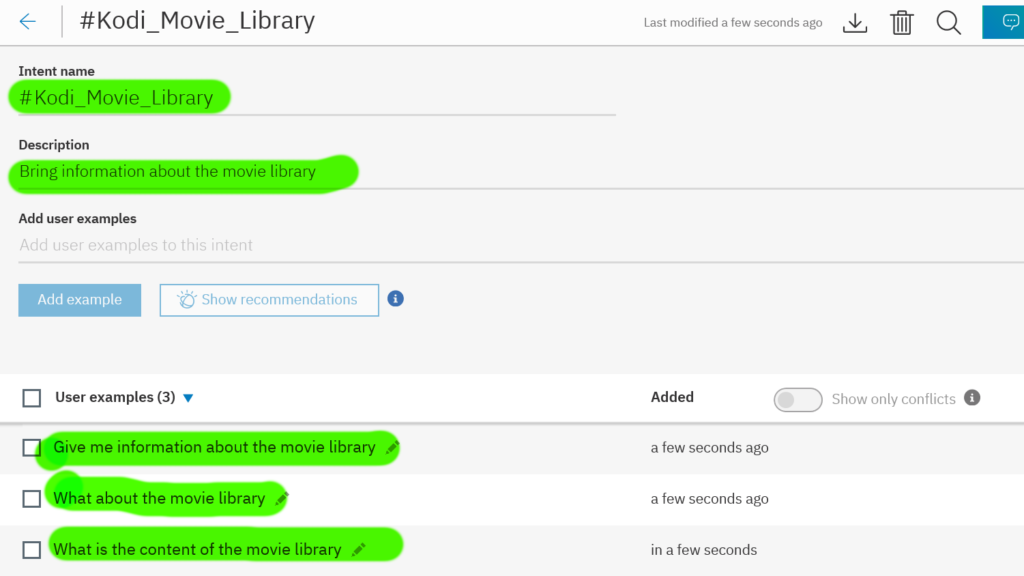
We will create the intent allowing the user to retrieve general information about Kodi. Enter an intent name and a quick description, then click on Create intent.
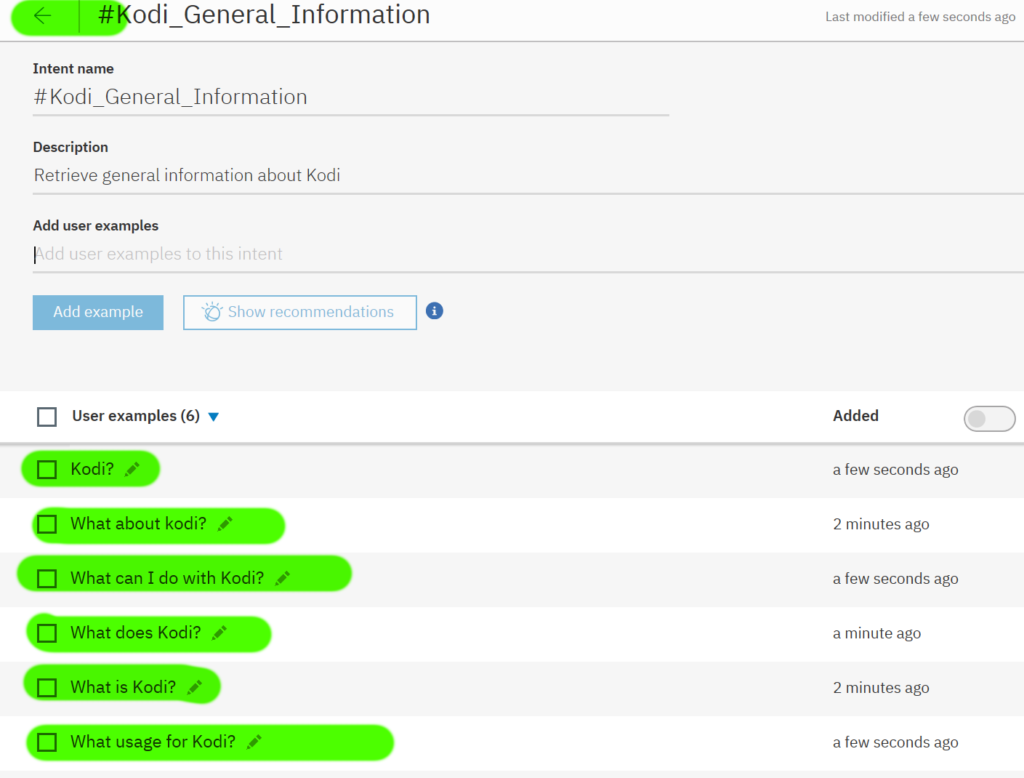
Now, we will add some user questions or user sentences he could enter. in other words, some question variations giving the same answer. Then, click on the back button (arrow button at the left of the intent name).
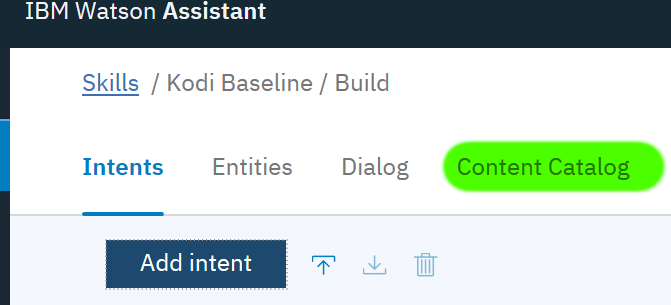
In addition, we can add some generic intents provided “out-of-the-box”. Just click on Content catalog button.
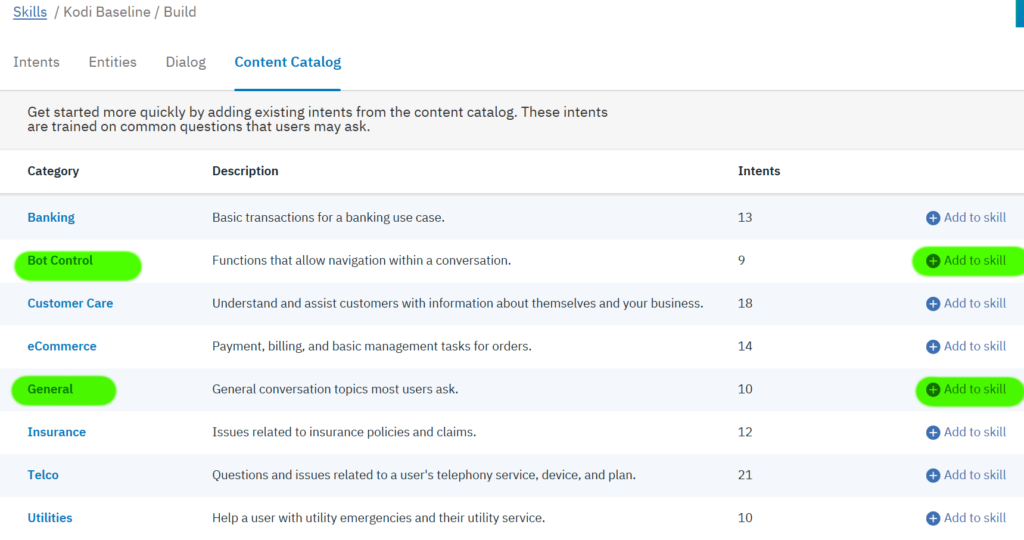
We see a list of available generic intents. Let’s choose Bot Control and General, containing 9 and 10 intents as of today, by clicking on the buttons Add to skill.
Create some entities
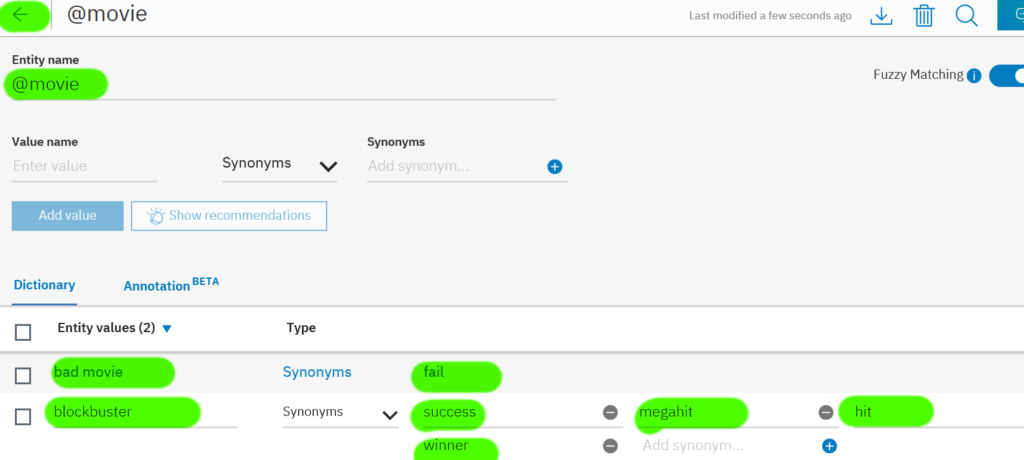
To start playing with the chatbot, let’s create some basic entities: “actor” and “movie”. From the menu on the skills page, click on the tab Entities.

Click on Add entity, enter the name Actor and click on Create entity. Then we add all values the entity can take. In the case of Actor, why not the “main actor” and “second role” values? So, let’s add these Value names. and some synonyms, then click on Add Value.


Let’s do it the same with the entity “movie”.
Create a set of simple dialogs
And now, we finalize our setup by creating simple dialogs. Let’s go to the Dialog tab on the skills page, and click on Create. As you can see, already two generic dialog nodes exist. We will add one dedicated to general information about Kodi, and a second one about the content of the movie library, with questions about actors and movies.
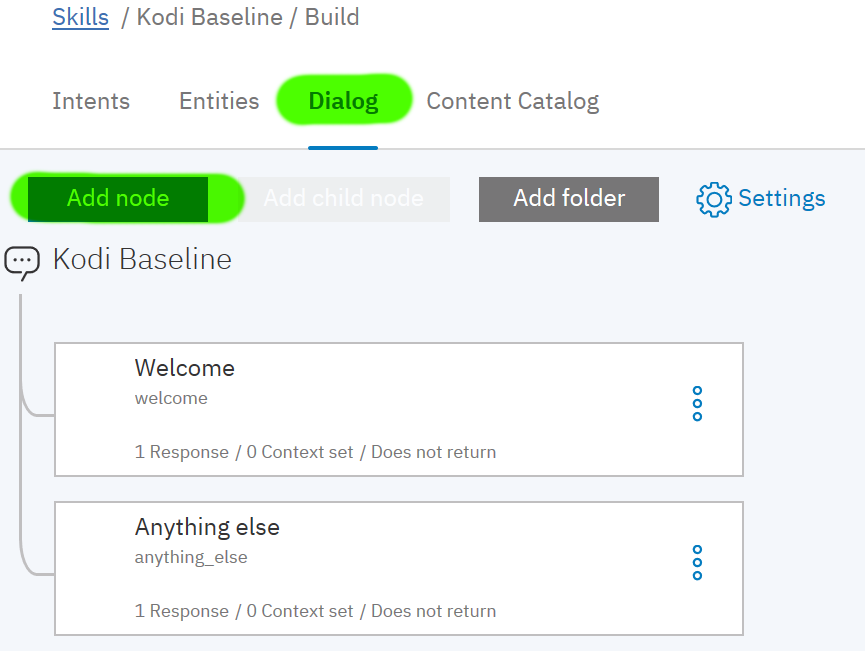
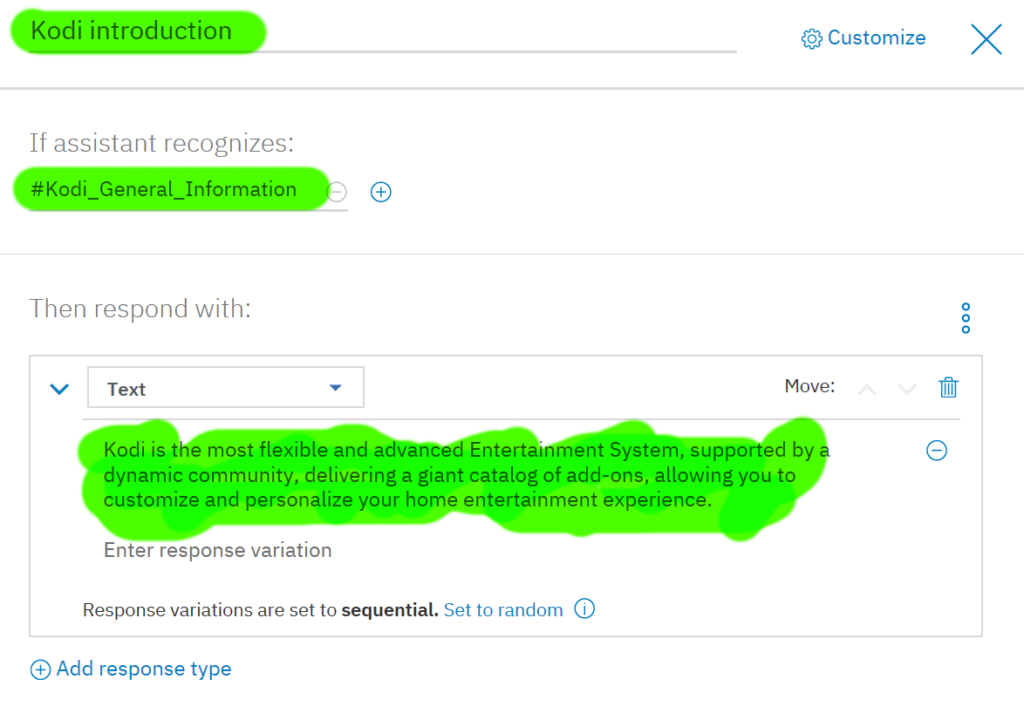
Now, let’s create the dialog node dedicated to questions about general information on Kodi. Click on Add node, enter a node name. e.g. Kodi introduction, then choose the previously created Kodi intent #Kodi_General_Information, and finally the Text answer when this intent is recognized.
Now, we will create the intent about Movie Library, and add the corresponding node.

Step #5 – The 1st intents, entities and dialog tree for Kodi
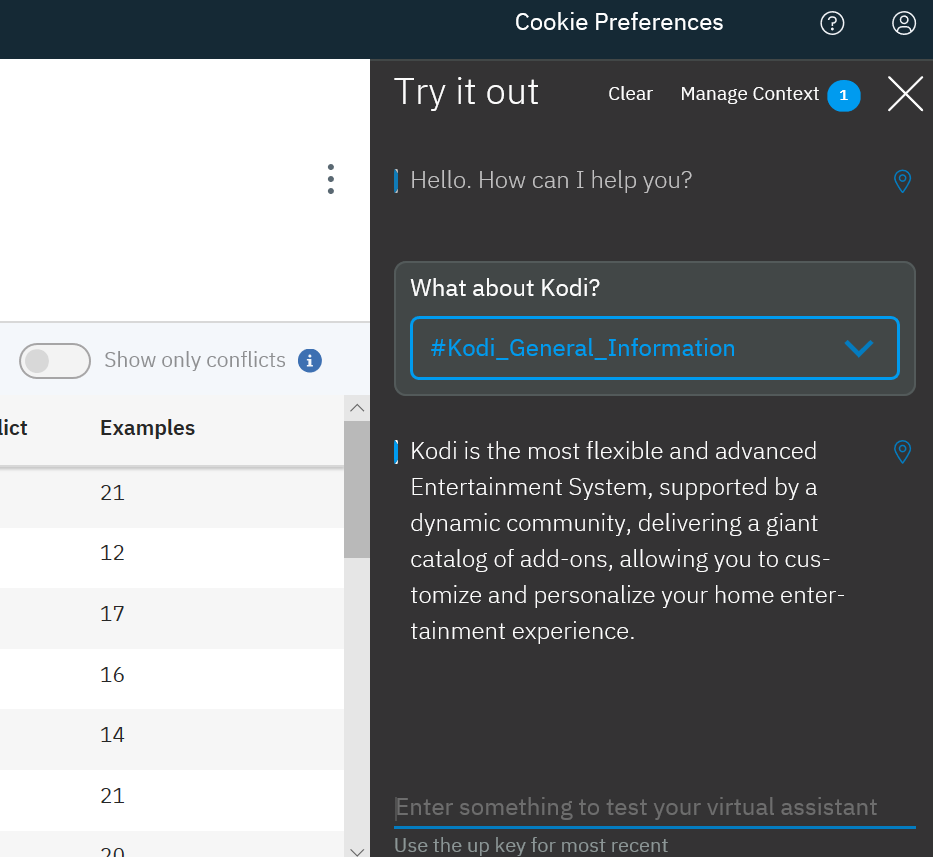
Let’s try the chatbot, by clicking on the top right button Try it. Enter some questions, such as: What is Kodi? or What about kodi? or Kodi?
And that’s all for this day.
The next step will be to create a Python script to call the Watson API… Oooh.